
I’m intending for this article to be more of a “how” than a “why”. I wrote a brief introduction to the vSphere Supervisor and the vSphere Kubernetes Service (VKS) last year that might be helpful reading, but the short version of “why” is that instead of creating a cluster using the Supervisor and VKS to run Argo CD, I’m going to run it in the Supervisor cluster itself. Very briefly, I want to do this because I’m going to use Argo CD to manage all of the other applications (e.g. PostgreSQL, Vault, Gitlab) that I want to use in my homelab without having Argo CD in the clusters where these applications will run. Effectively I want to make Argo CD a single source of management for all Kubernetes applications.
Argo CD Operator #
The Argo CD Operator manages the lifecycle of an Argo CD deployment. The product team for vSphere have made it available as a service that can be installed into the vSphere Supervisor. At the time of writing, all such services are available from a Github page. Specifically, the Argo CD Operator service can be found here.
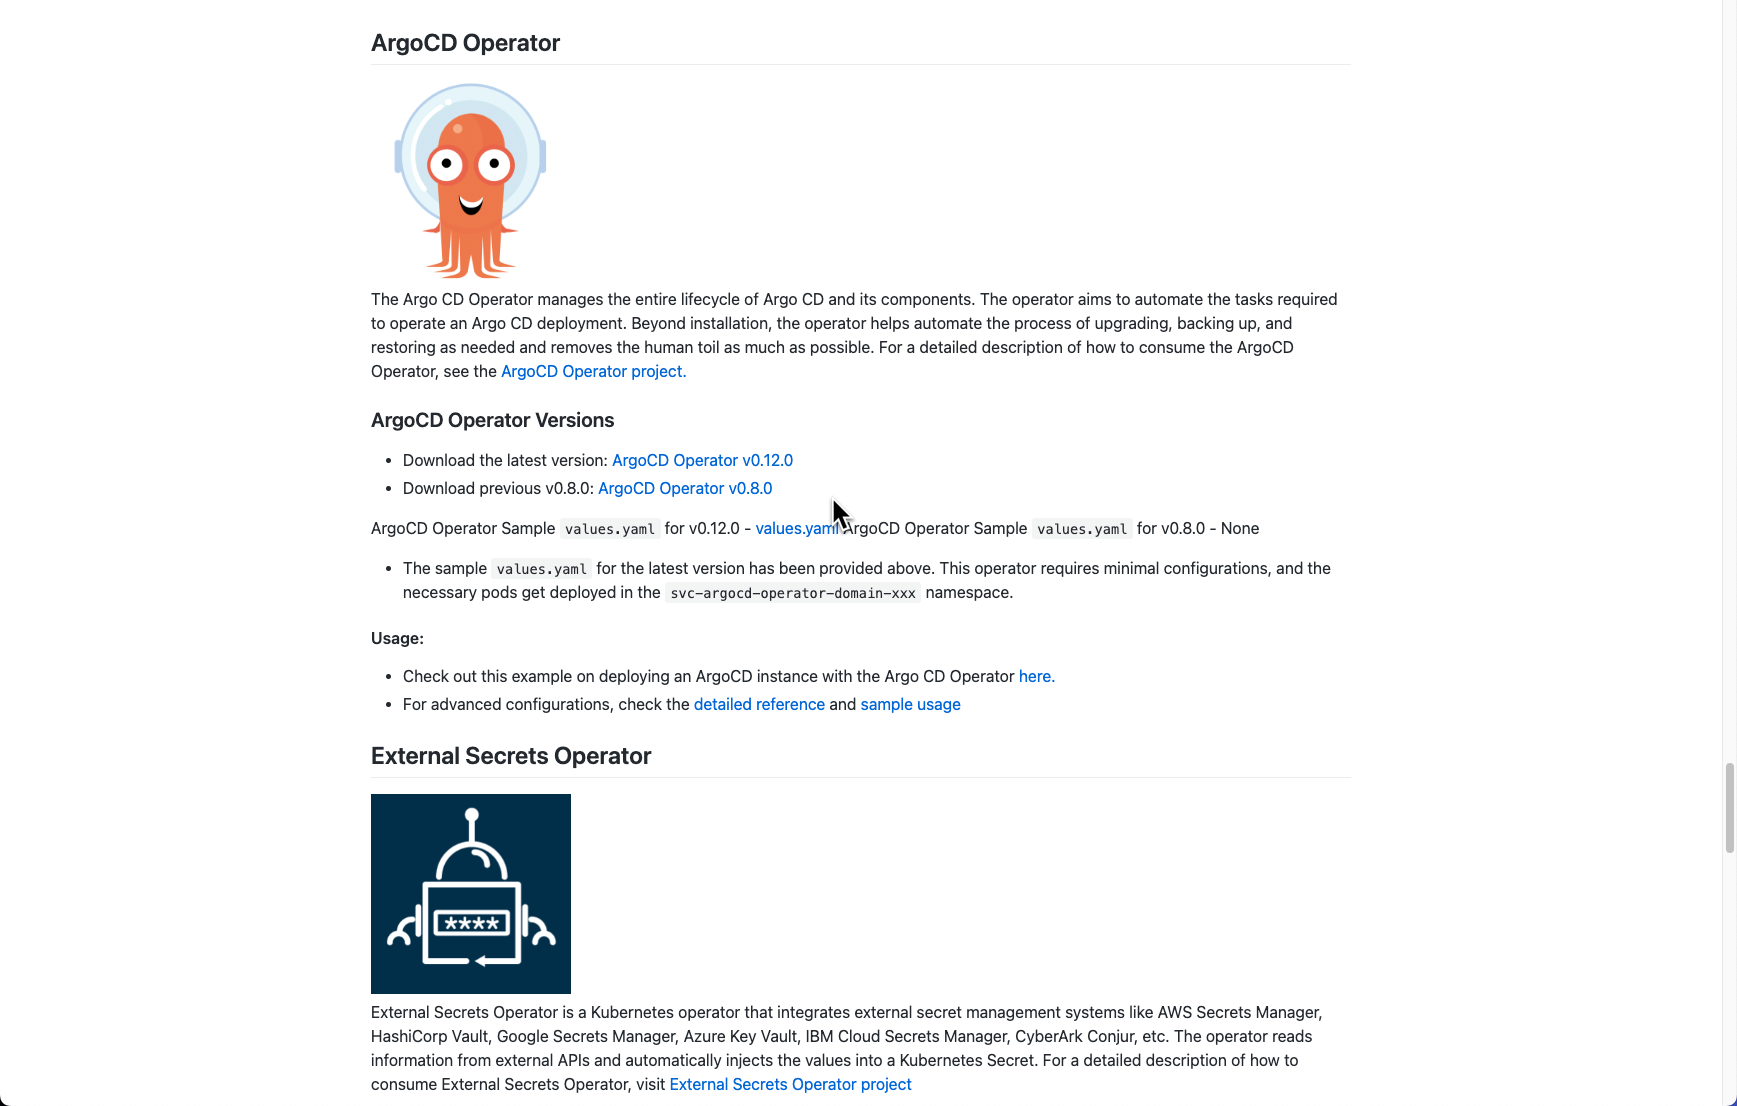
The YAML file for the operator (v0.12.0 in the screenshot above) can be downloaded and created as a Supervisor service using the vCenter UI.
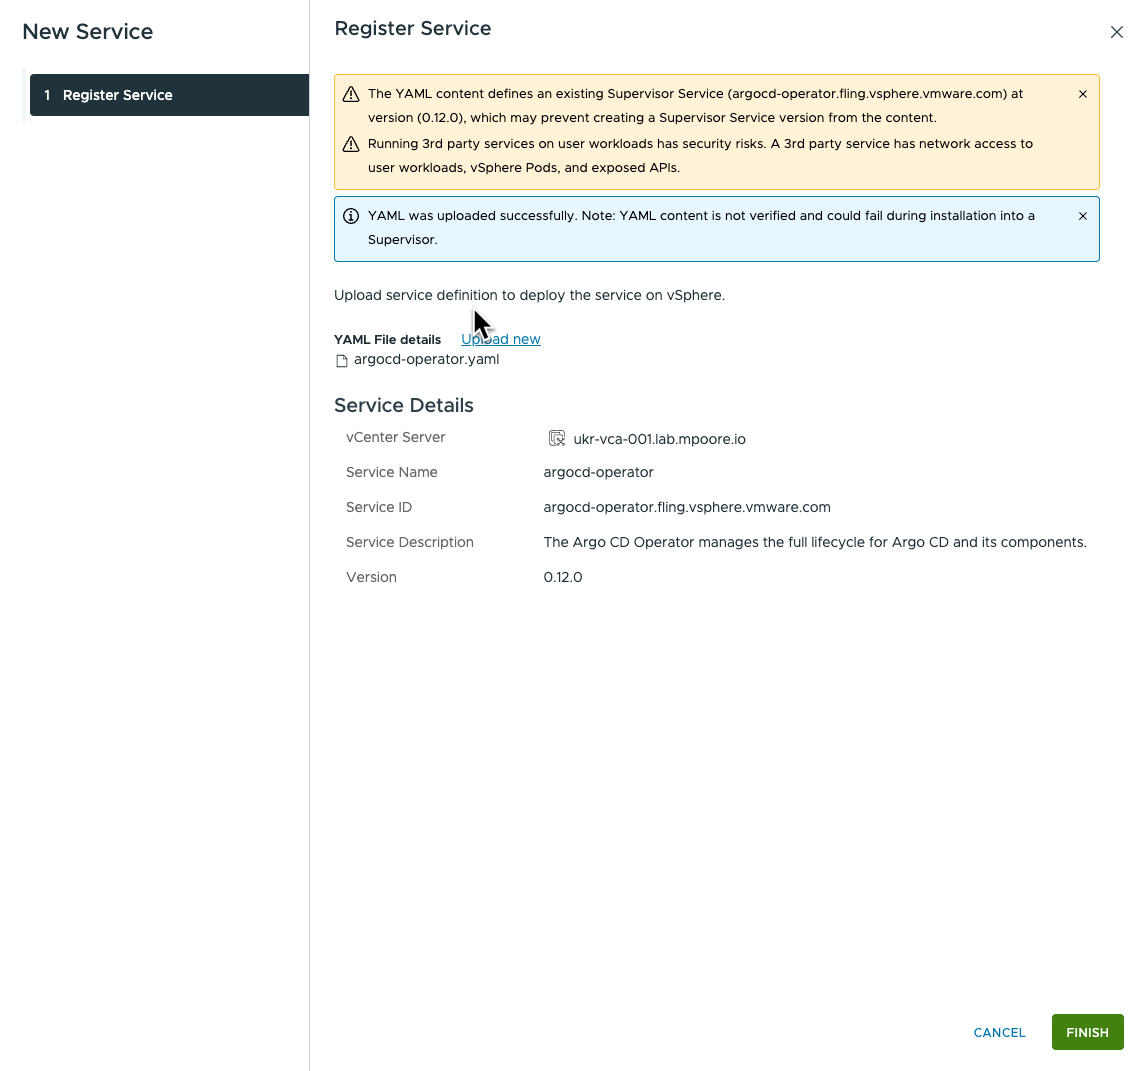
Once applied to a Supervisor, a new namespace will be created for the service. In my homelab, that ended up being “svc-argocd-operator-domain-c9”, whcih is an automatically generated name.
Supervisor Namespace #
Now that the Argo CD Operator is running in the Supervisor, I need somewhere for an Argo CD instance to run. I need a Namespace in the Supervisor. This is easy to create using the vCenter UI.
- Navigate to Workload Management in the vCenter UI.
- Click the option to create a “New Namespace”.
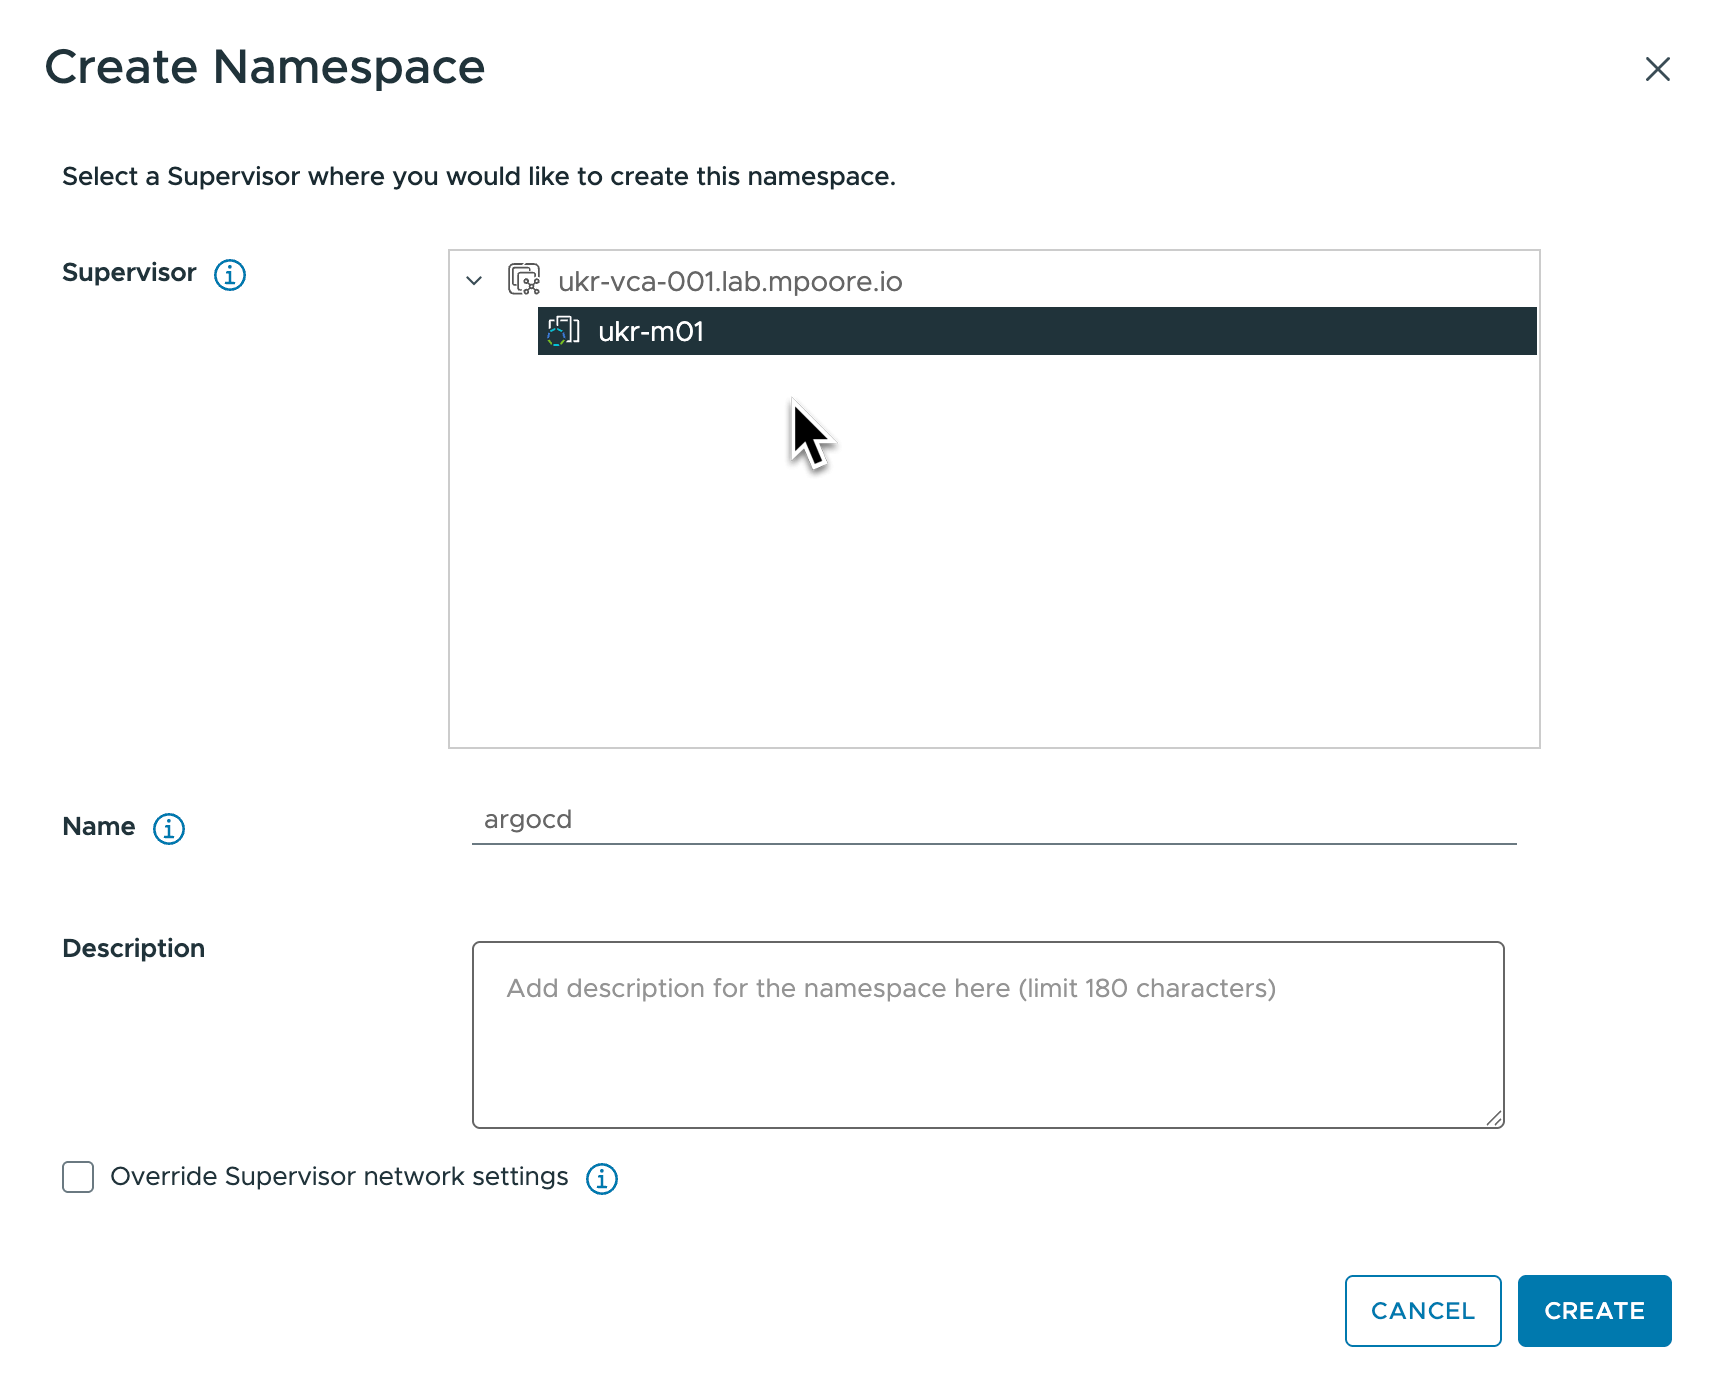
- The namespace needs a DNS-compliant name, I went with “argocd”.
- The namespace is quickly created, but there are two configurations that I need to make before I can use it.
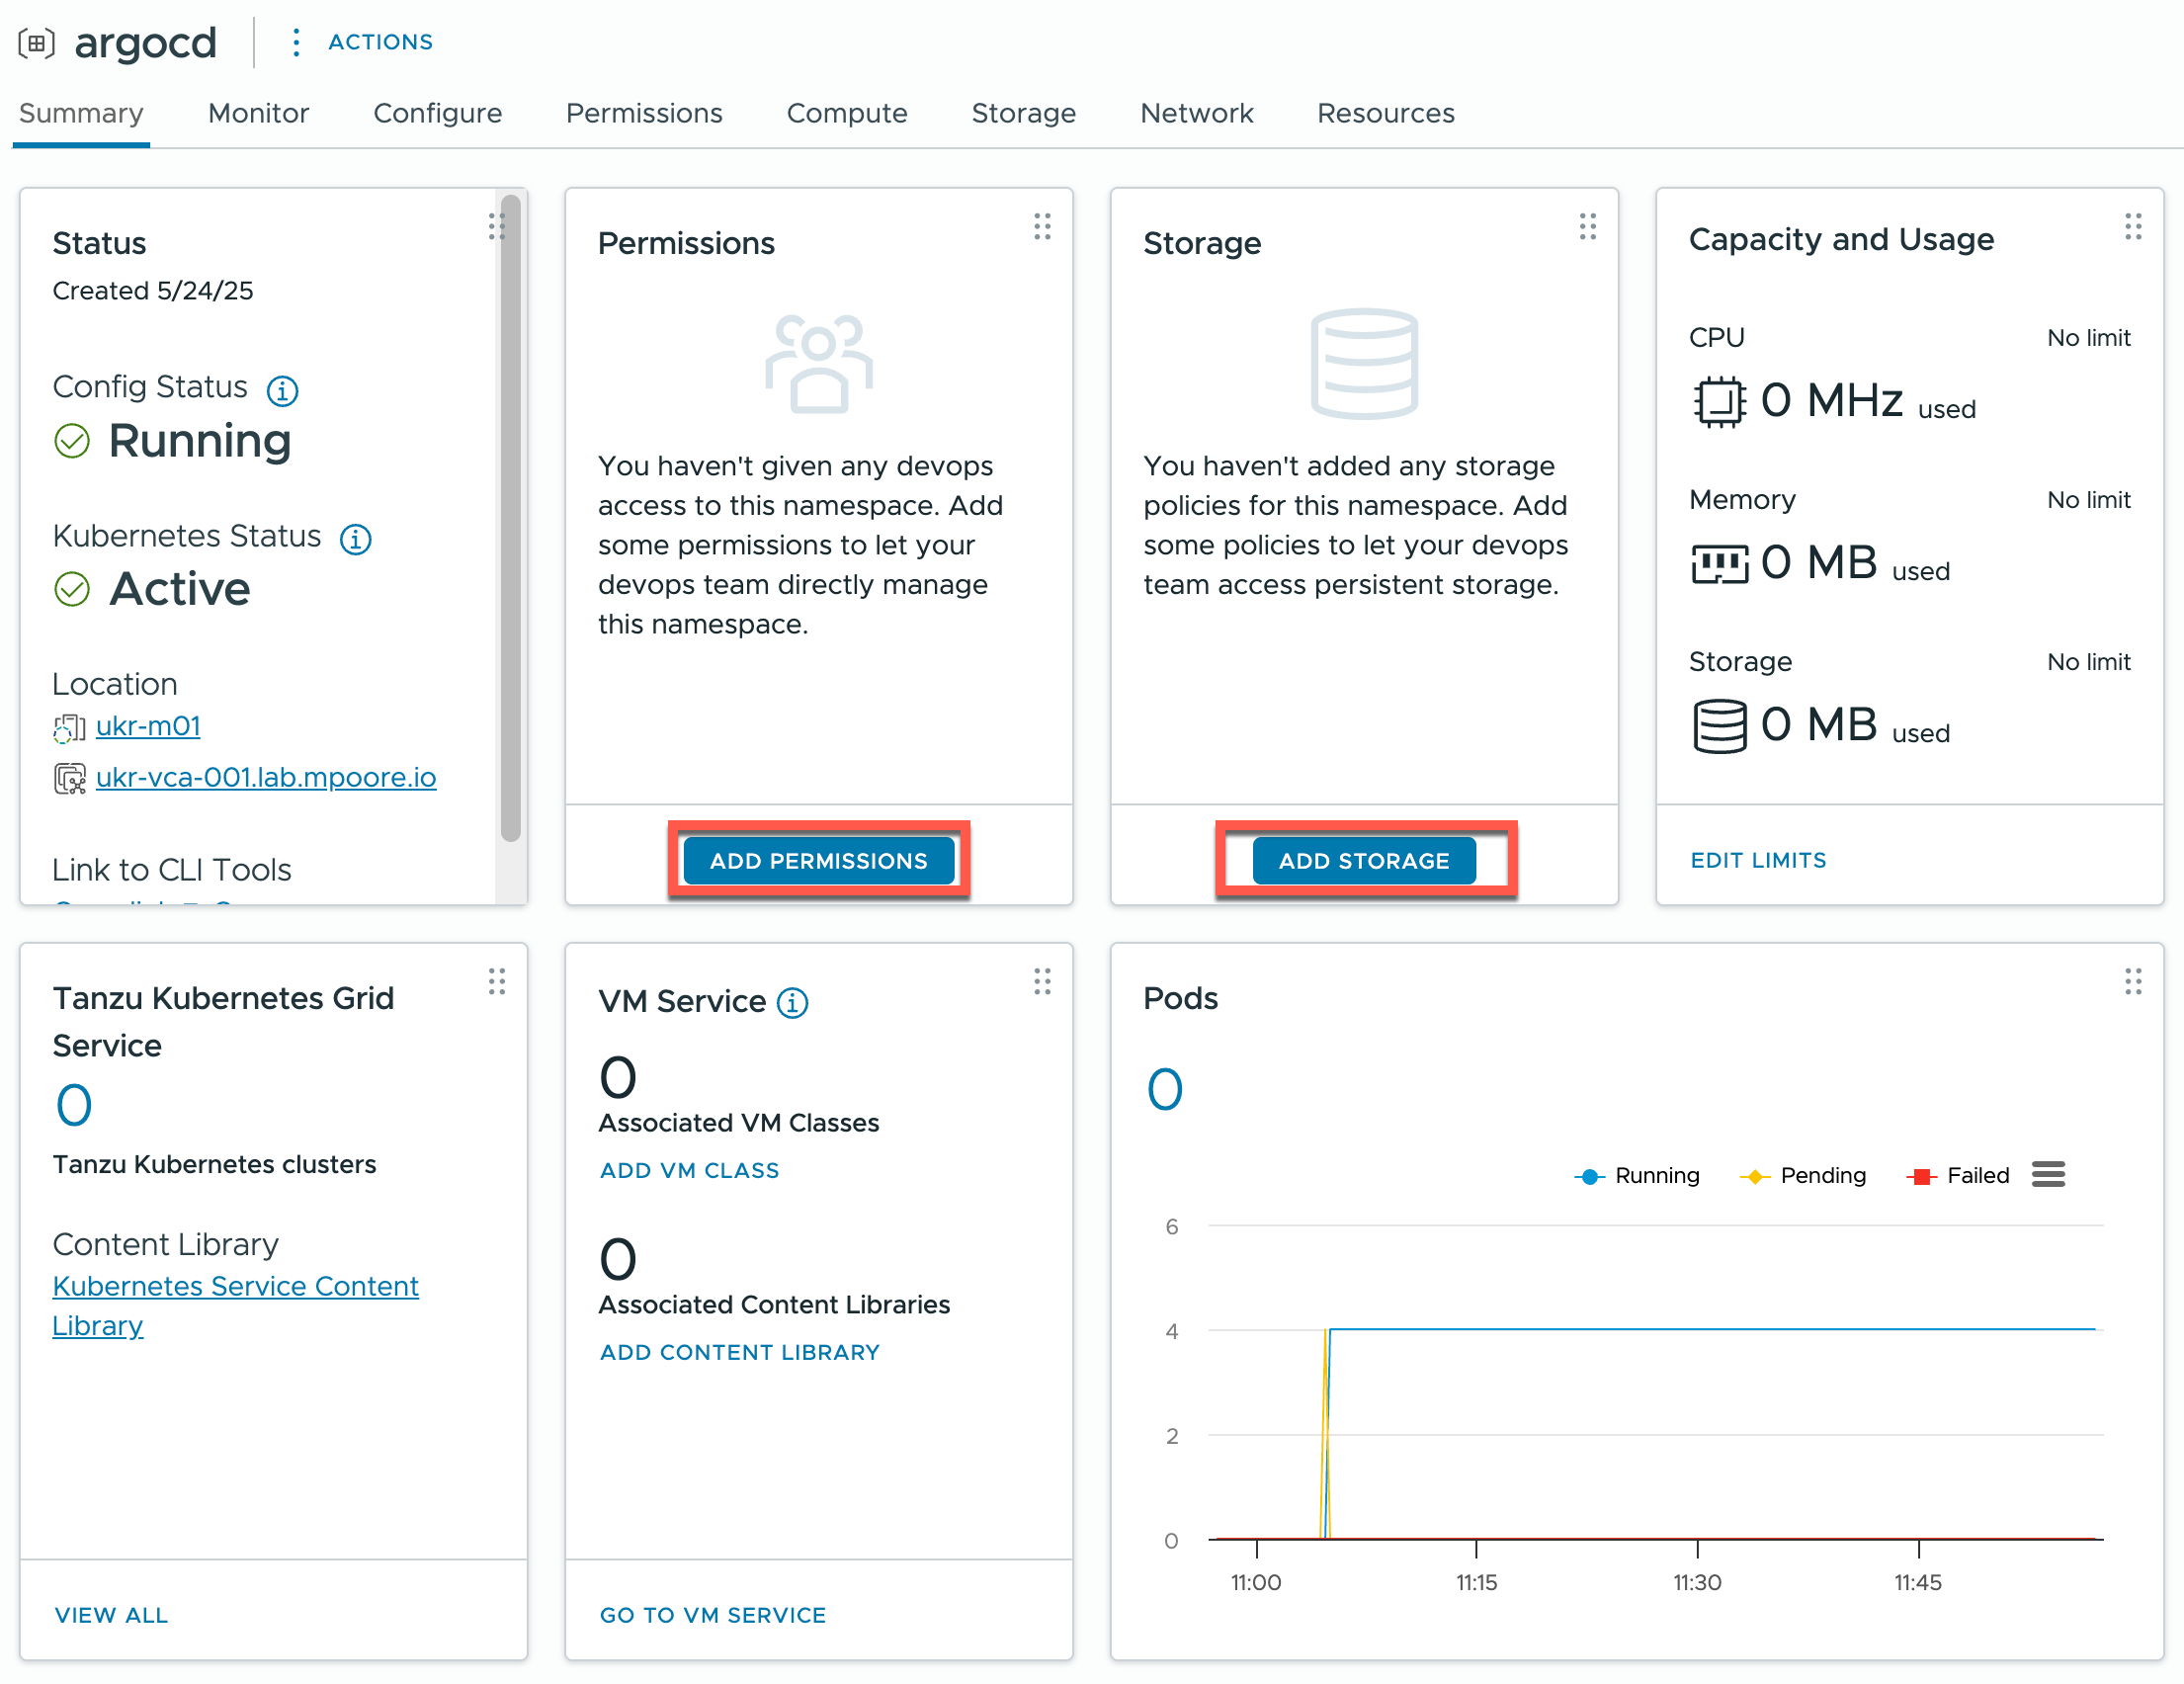
- Assign a user to have permissions to the namespace:

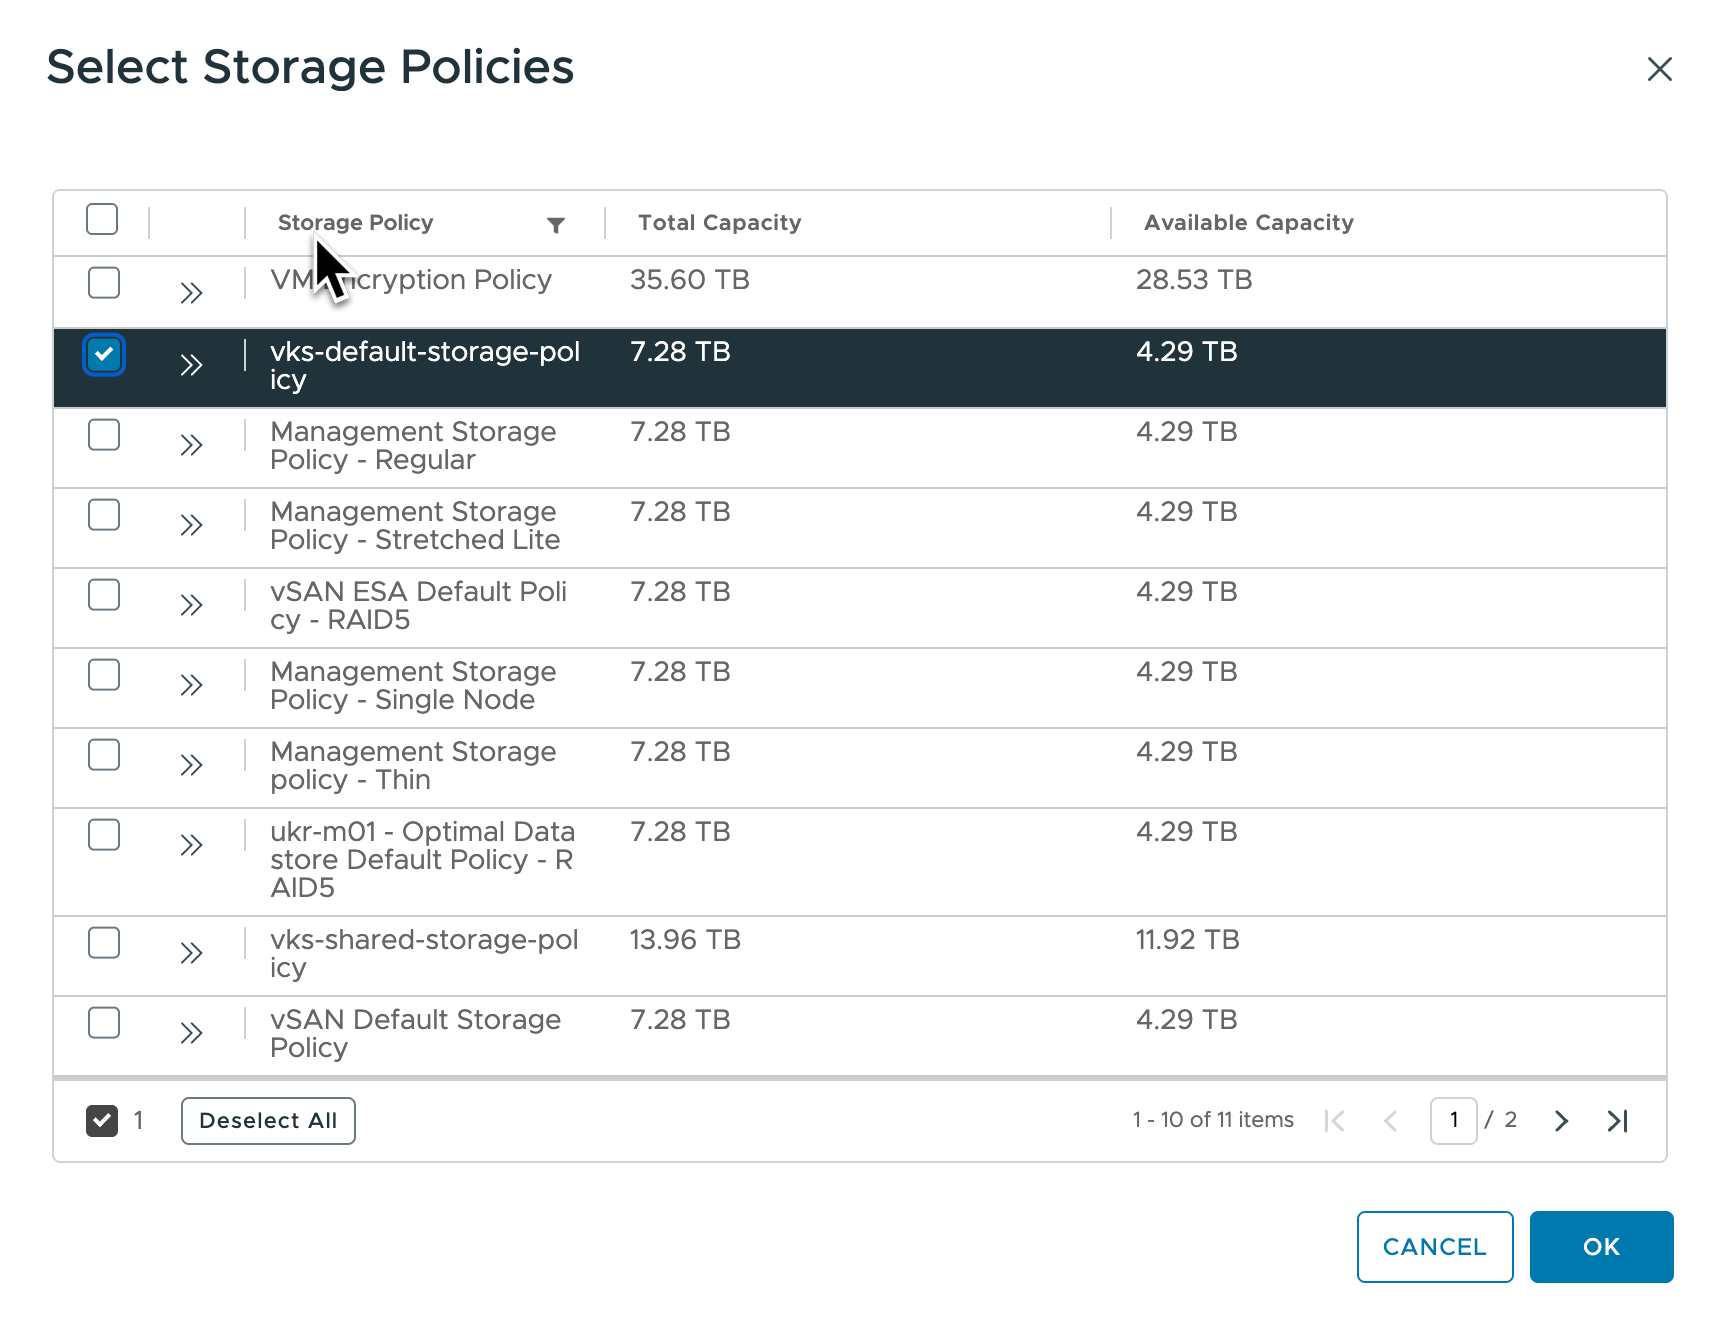
- Assign a storage policy to the namespace so that the pods in the Argo CD instance can consume storage.
That’s all the configuration that we need. Now I can go ahead and deploy Argo CD.
ArgoCD Deployment #
As with most operators, they’re configured to monitor namespaces and look for the creation or modification of specific resources. In this case I will create an Argo CD resource that the operator will then react to and deploy Argo CD.
|
|
The only change that I made from the actual sample was to change the value in the “name” field (line 4). The sample uses “my-demo-argocd” as the name and this value is reflected in all of the resources that are created. So for me, just “argocd” is fine!
The deployment is simple. You can see below the steps that I went through, but I’ll detail them afterwards.
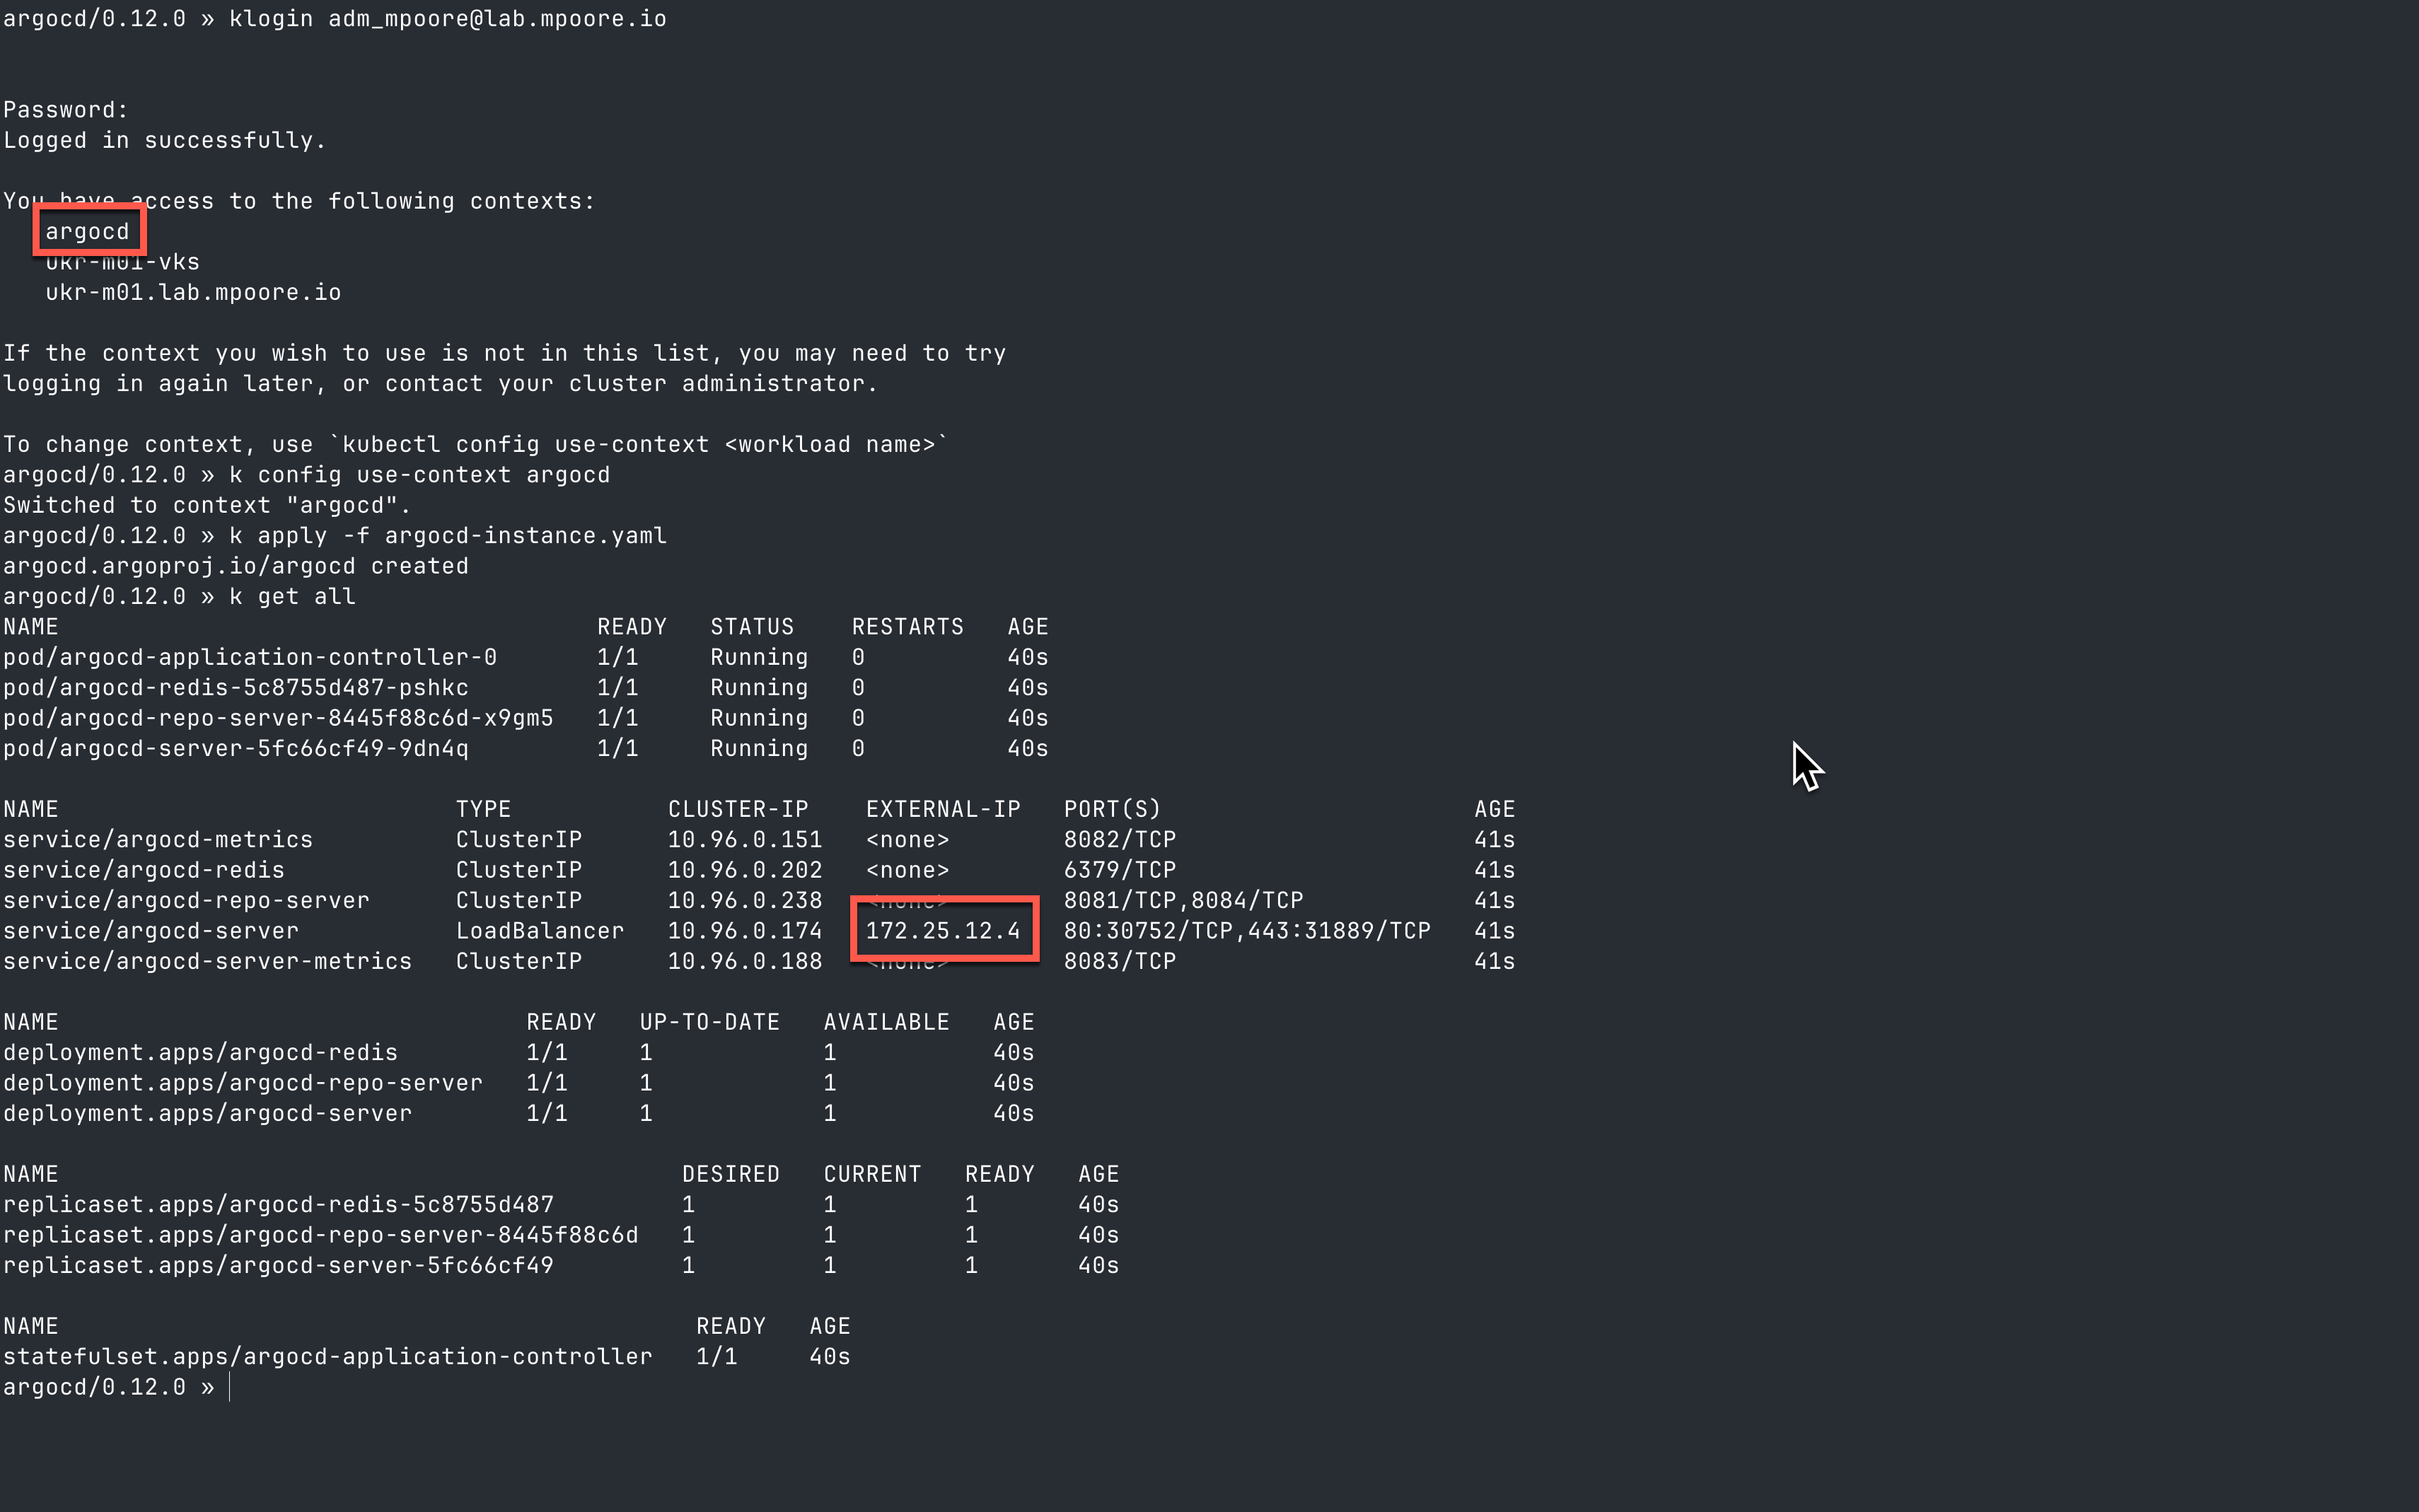
The first step is authenticating to the Supervisor cluster. Here I have a profile function that I use. As you can see, it returns a list of the contexts that I have access to.
The second step is to select the correct context to use. This is the “argocd” namespace that I created above.
k config use-context argocd
The deployment itself just requires applying the instance yaml that I created above:
k apply -f argocd-instance.yaml
The final step is just to examine the resources that have been provisioned:
k get all
You can see the services, pods, deployments etc that have been created in the earlier screenshot. Most importantly, the external IP address for the “argocd-server” service (which I highlighted above), this can be used to create a DNS record for Argo CD.
With that done, it’s simply a matter of pointing a browser at the chosen URL:
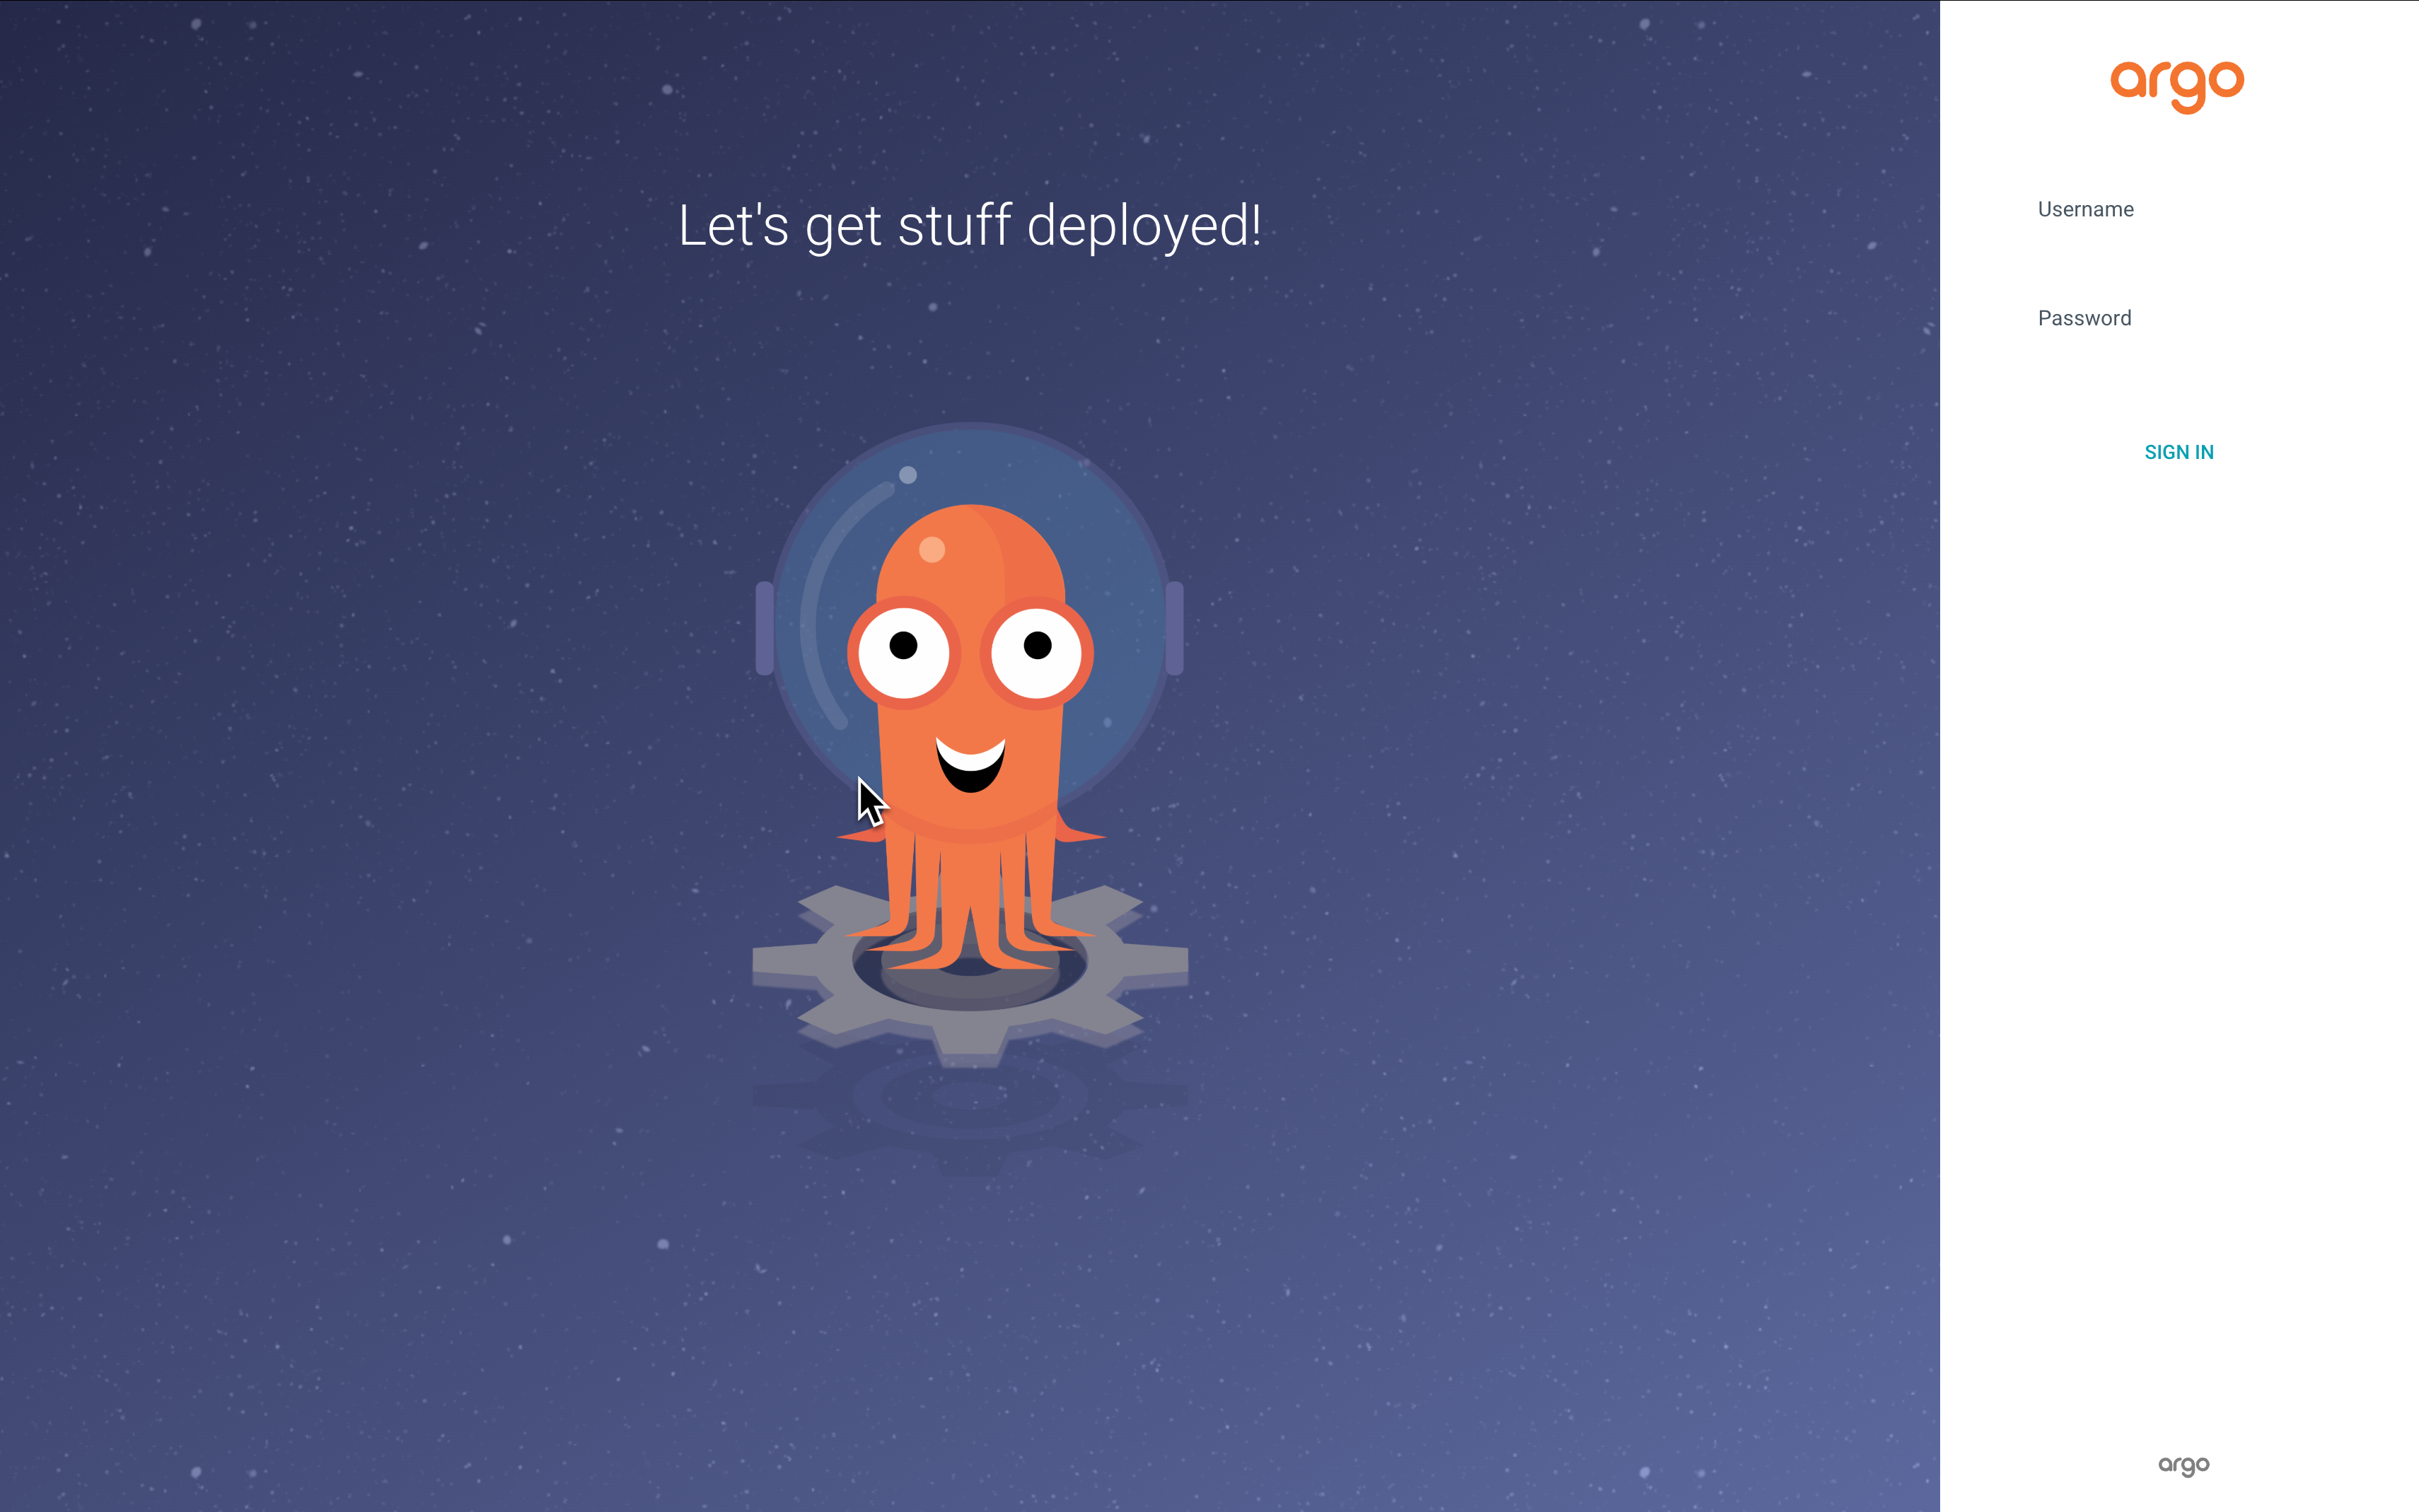
To login to Argo CD, the default username is “admin” and the corresponding password can be found by running the following command:
kubectl -n argocd get secret argocd-cluster -o jsonpath='{.data.admin\.password}' | base64 -d
TLS Configuration #
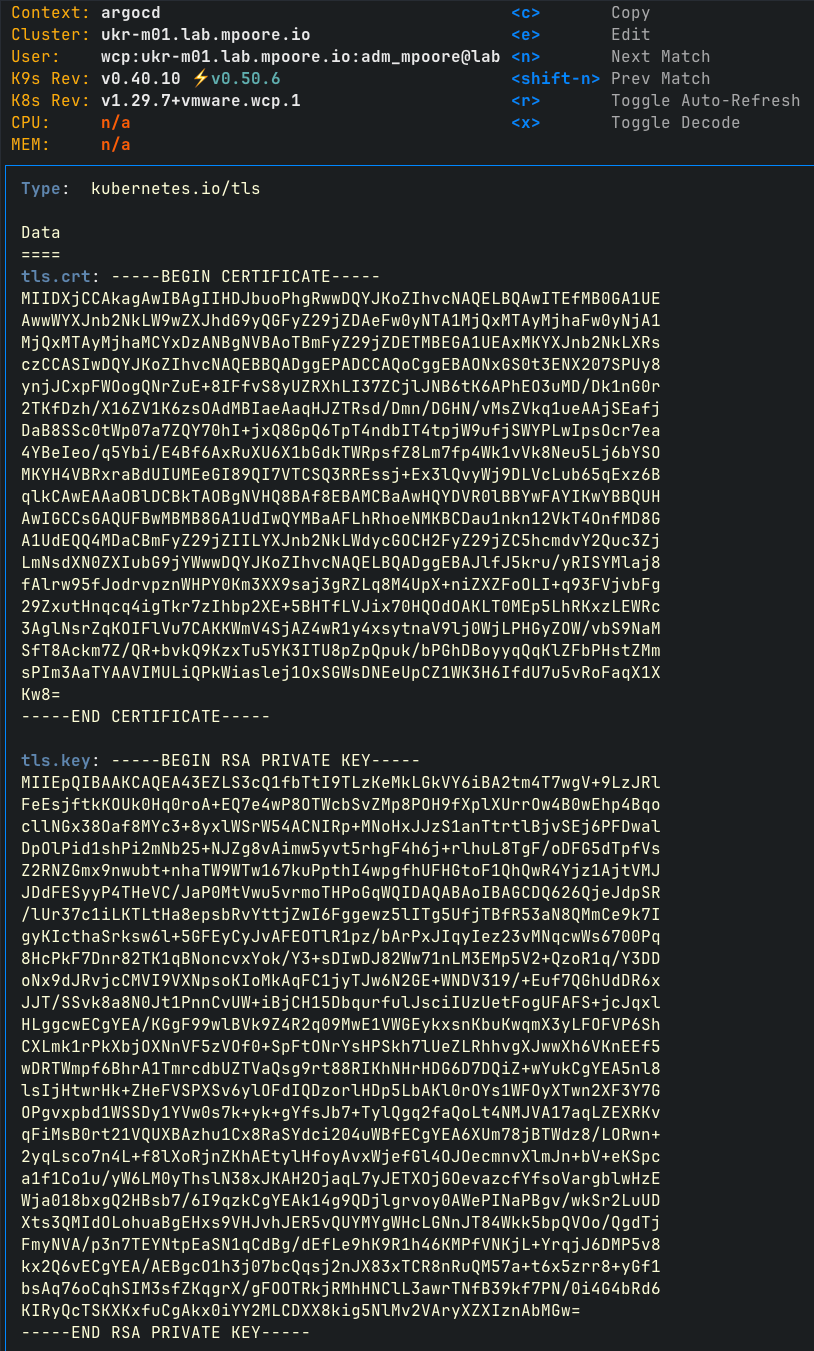
Now that the deployment has been completed, I wanted to take care of the TLS configuration. By default, a self-signed certificate is automatically generated for use by Argo CD. Of course it’s not trusted by any browser aside from the obvious security concerns, it’s plain annoying!
The certificate in question gets created in a secret called “argocd-tls”. Here it is as viewed through k9s.
It would be nice to use cert-manager and my Vault PKI to replace the certificate, but I don’t have cert-manager available in the Supervisor cluster at present. I can generate a trusted certificate in Vault though.

Having stored the certificate and key locally as the files tls.crt and tls.key, I can update the secret in the argocd namespace using the following command:
kubectl create secret tls argocd-tls --save-config --dry-run=client --key tls.key --cert tls.crt -o yaml | kubectl apply -f -
Just like that, TLS is for Argo CD is using a trusted certificate and I can start using it to manage applications and clusters.
Summary and Next Steps #
To summarise, I have deployed the Argo CD Operator as a Supervisor Service and used it to create an instance of Argo CD. That instance is automatically made available externally to the Supervisor cluster as an application using the NSX and Avi networking. I subsequently replaced the self-signed TLS certificate with a trusted one. Argo CD is now ready to start managing applications.