
My lab is built on VMware vSphere and the Workload Management feature is enabled and uses NSX Advanced Load Balancer (formerly known as “AVI”) to provide the ingress to the applications that are hosted there. AVI, via the AVI Kubernetes Operator (AKO) does a great job of creating configurations for applications that request them. Usually I use Helm charts to deploy and manage those applications.
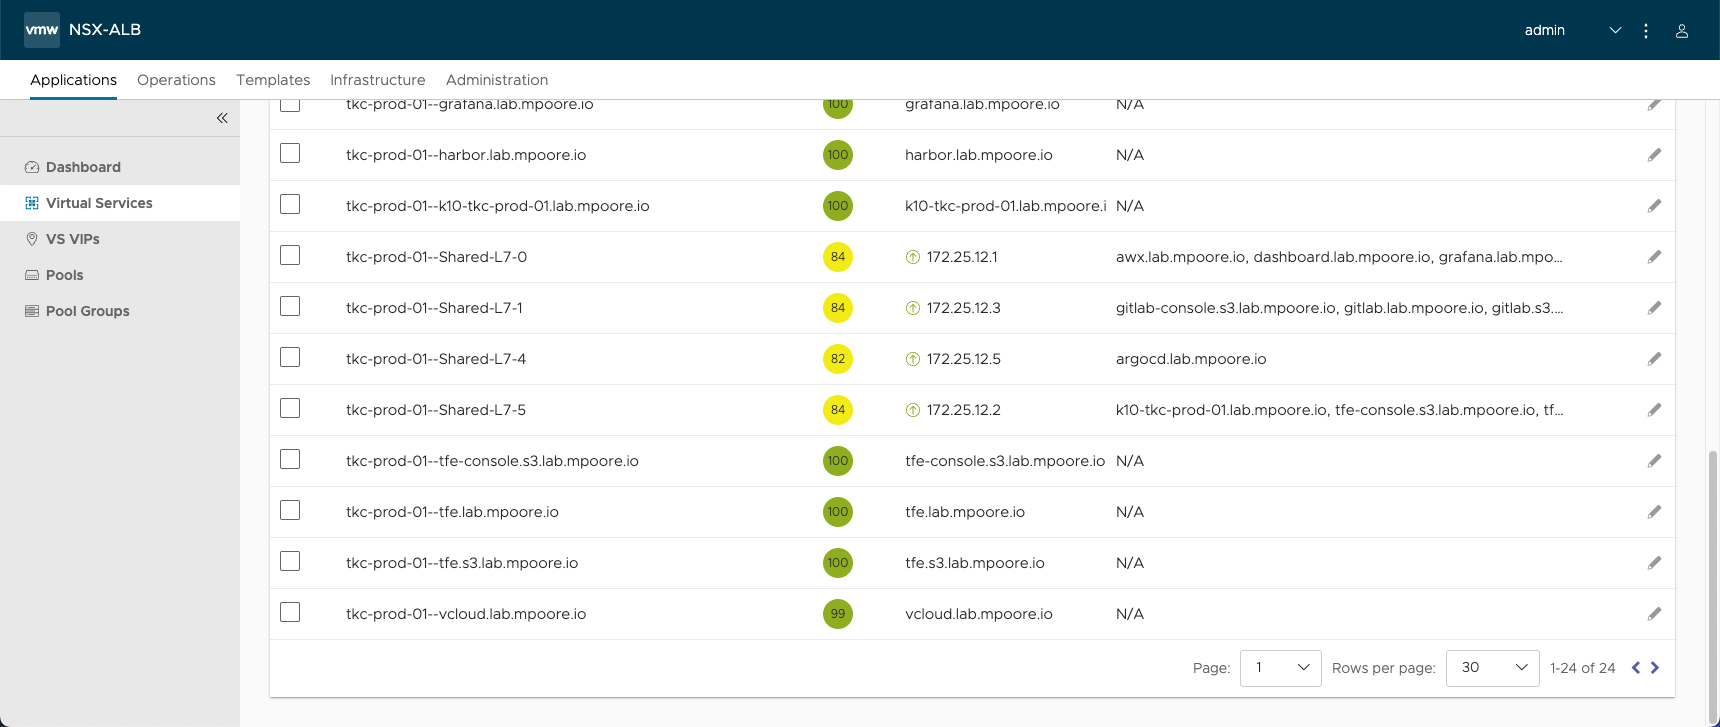
One thing that has bugged me in the time that I have been using this setup however are the health scores of the shared Virtual Services. They max out at 80% and, as a result, show as yellow in the dashboard instead of green.
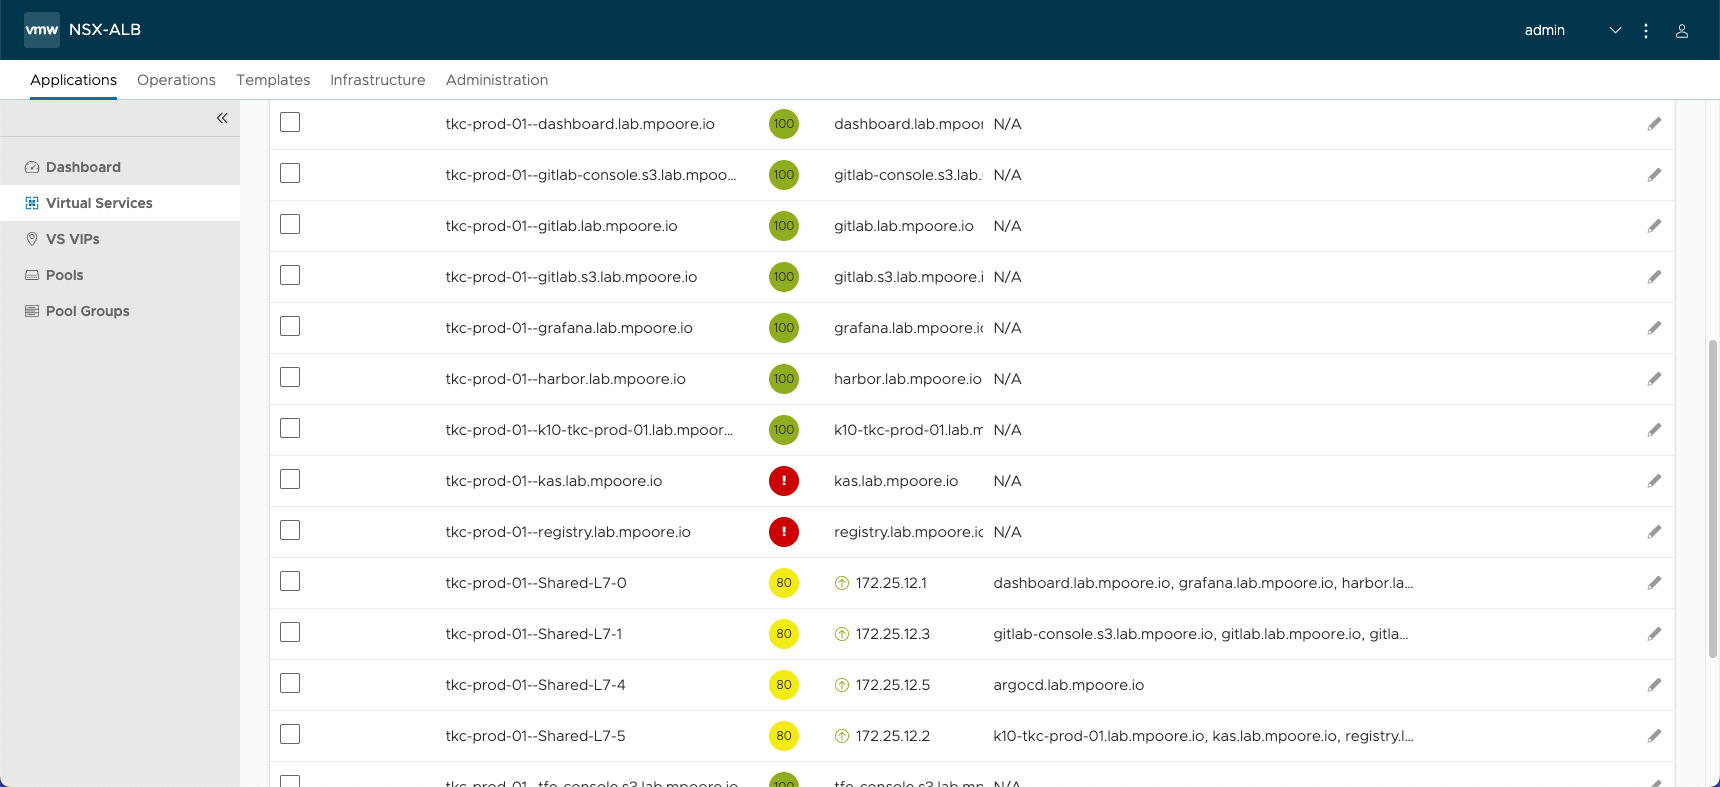
Ignore the red Virtual Services, they’re red for a reason and not the subject of this post!
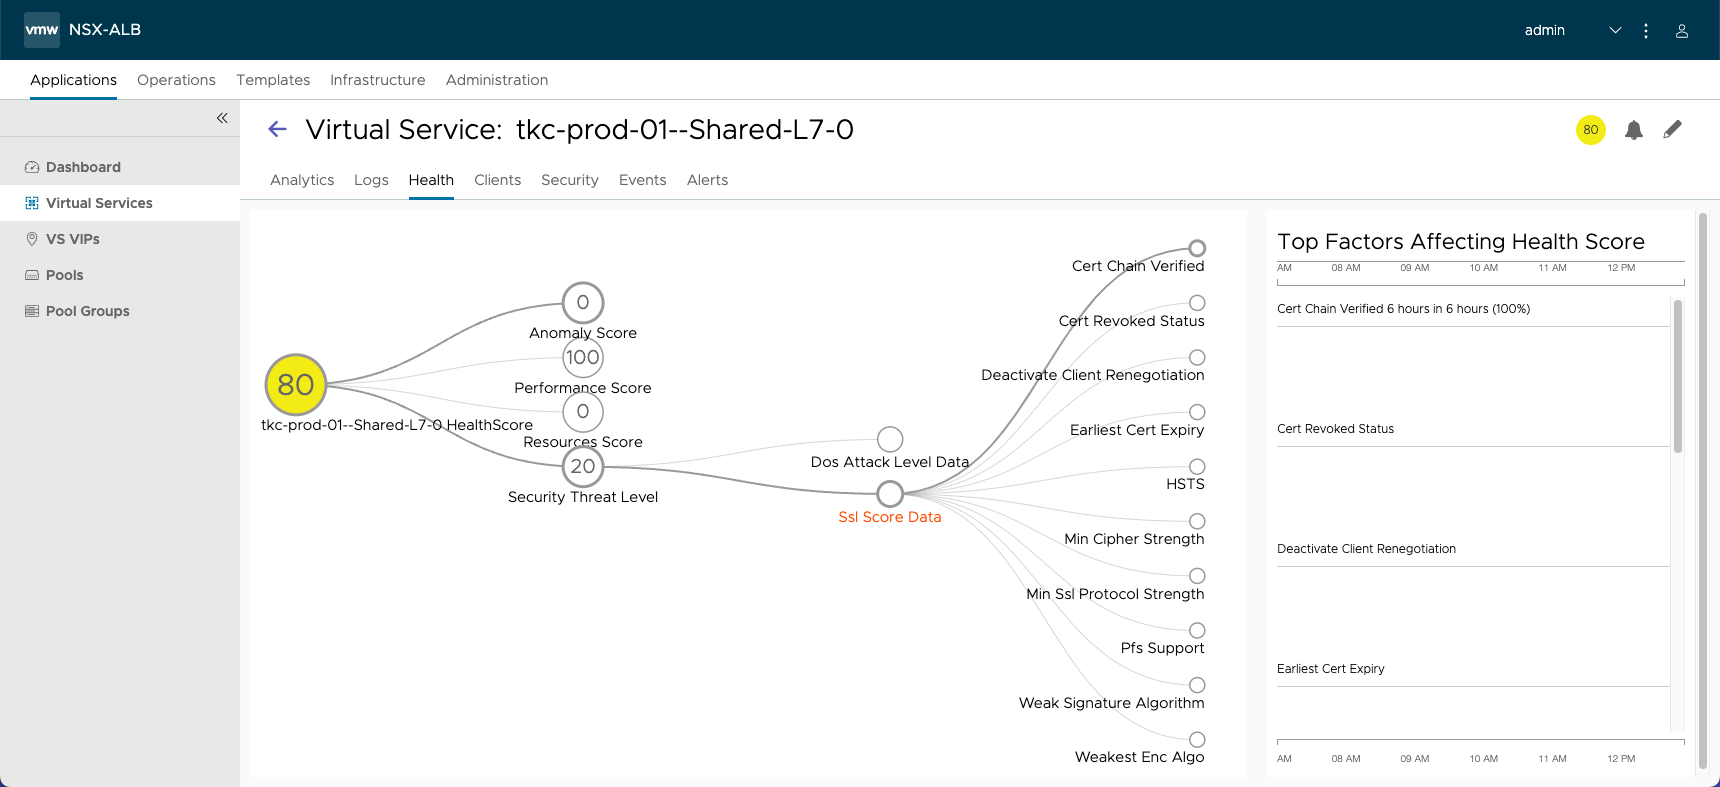
Drilling down into the health score for one of these services shows that the issue is related to SSL, and specifically because the trust for the certificate being used cannot be verified.
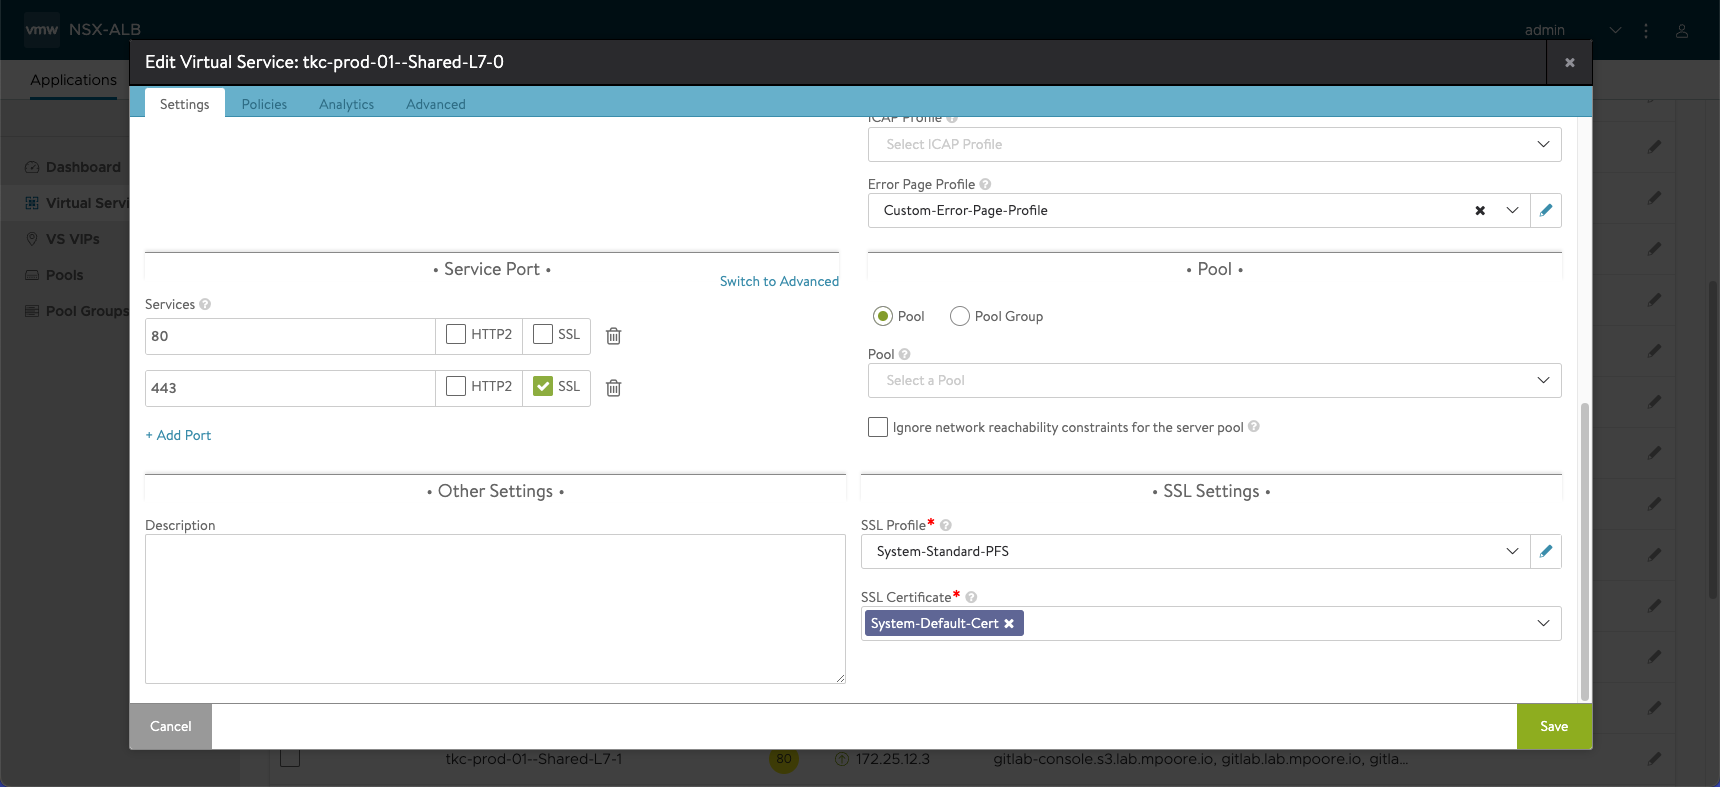
If we look at the configuration of the Virtual Service, we can see that it is using the System-Default-Cert certificate. This was configured by AKO automatically. But the certificate itself was created when AVI was first installed. It is a self-signed certificate.
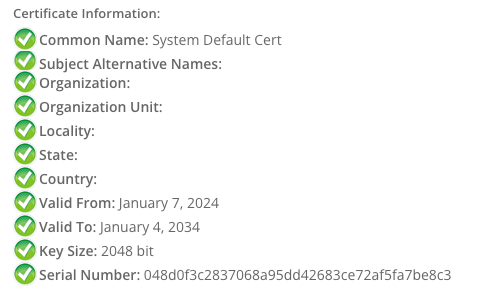
By exporting the System-Default-Cert certificate and popping it into an SSL check tool, we can see that there’s not much to it. I don’t know if there are any specific requirements or constraints on a replacement certificate so I’m going to try and generate one that’s a close match.
Great, so how do we fix this? One option would be to manually reconfigure each of the shared Virtual Services to use a CA-signed certificate. However, since AVI (and these Virtual Services specifically) is being controlled by another system, I would expect my efforts to be undone. Another option might be to find out what is controlling these configurations and try to change which certificate it selects. I’m not sure where to start with that. The other option is to replace the System-Default-Cert certificate with a CA-signed one.
This final route is the one that I will follow as it’s supported, even if it isn’t quite as straightforward as I’d like. The process is documented in the product documentation as Renew Default (Self-Signed) Certificates on Avi Load Balancer.
I won’t just copy and paste the instructions here, but in summary you must:
- Follow the instructions in Install the Avi Load Balancer CLI Shell to setup the AVI CLI. If you can get it to work, that is. I encountered issues with the version of urllib3 in Python.
- Generate a new certificate. I created one in my HashiCorp Vault CA. The generated certificate has the same common name as the original certificate (“System Default Cert”).
- Save the generated certificate and private key to separate text files (e.g. system-default.cer and system-default.key respectively).
- Use the CLI to connect to and authenticate with the AVI controller. If you have trouble with the AVI CLI Shell, as I did, you can also use scp to copy the certificate files to the controller and access the CLI on the controller itself via SSH.
- Use the documented steps to import the new certificate.

With the generated certificate and key uploaded to the AVI controller, I applied the new default certificate using the shell via SSH.
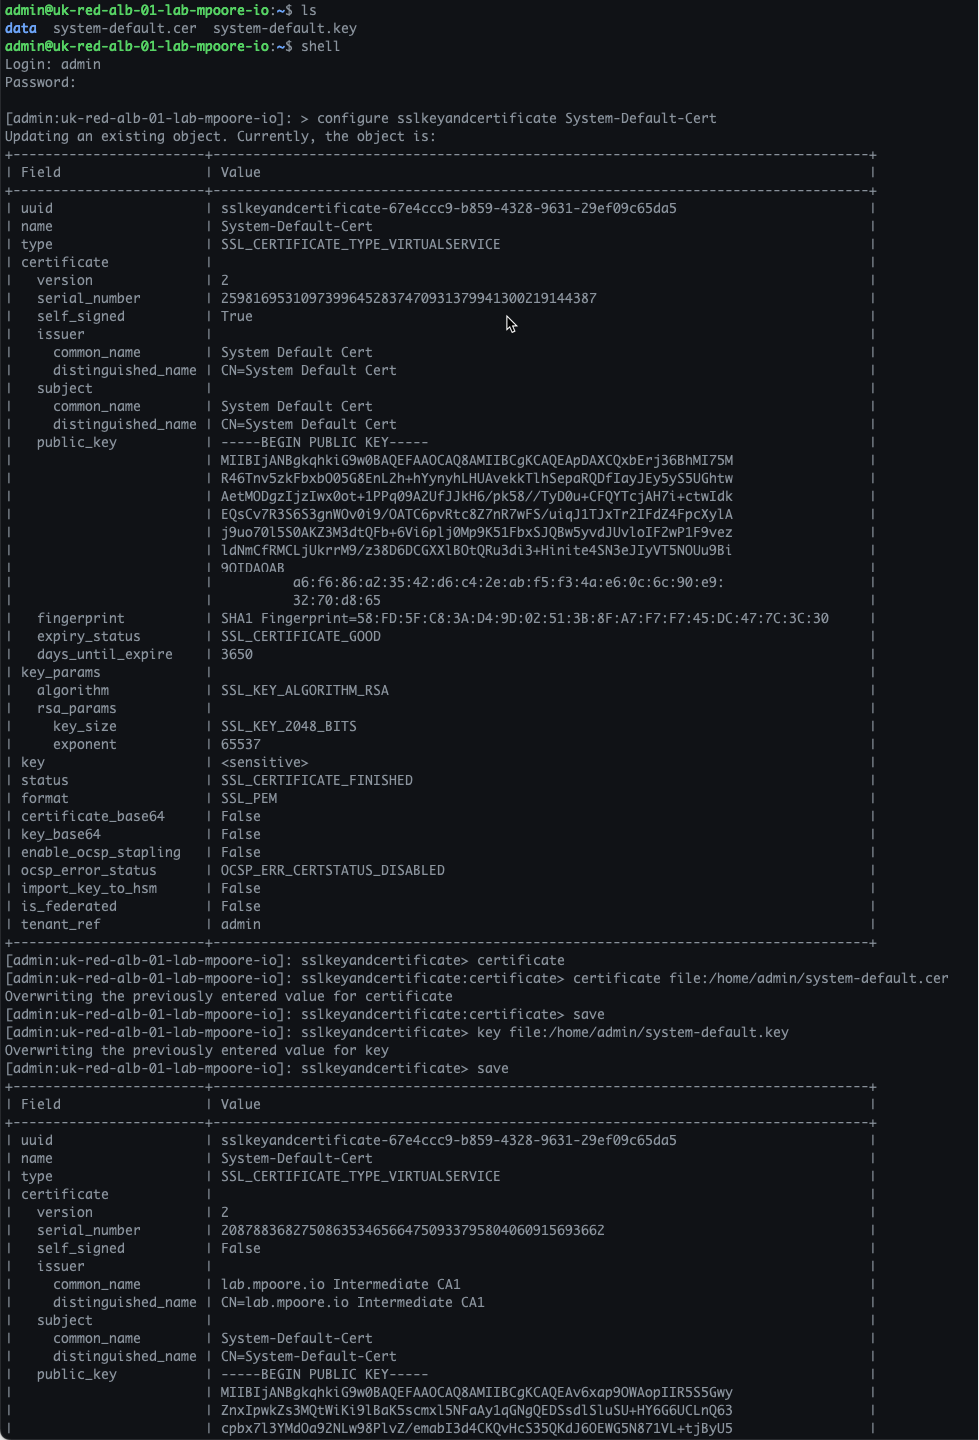
Via the AVI UI, you can now clearly see that the System-Default-Cert has been replaced with a signed certificate as planned.

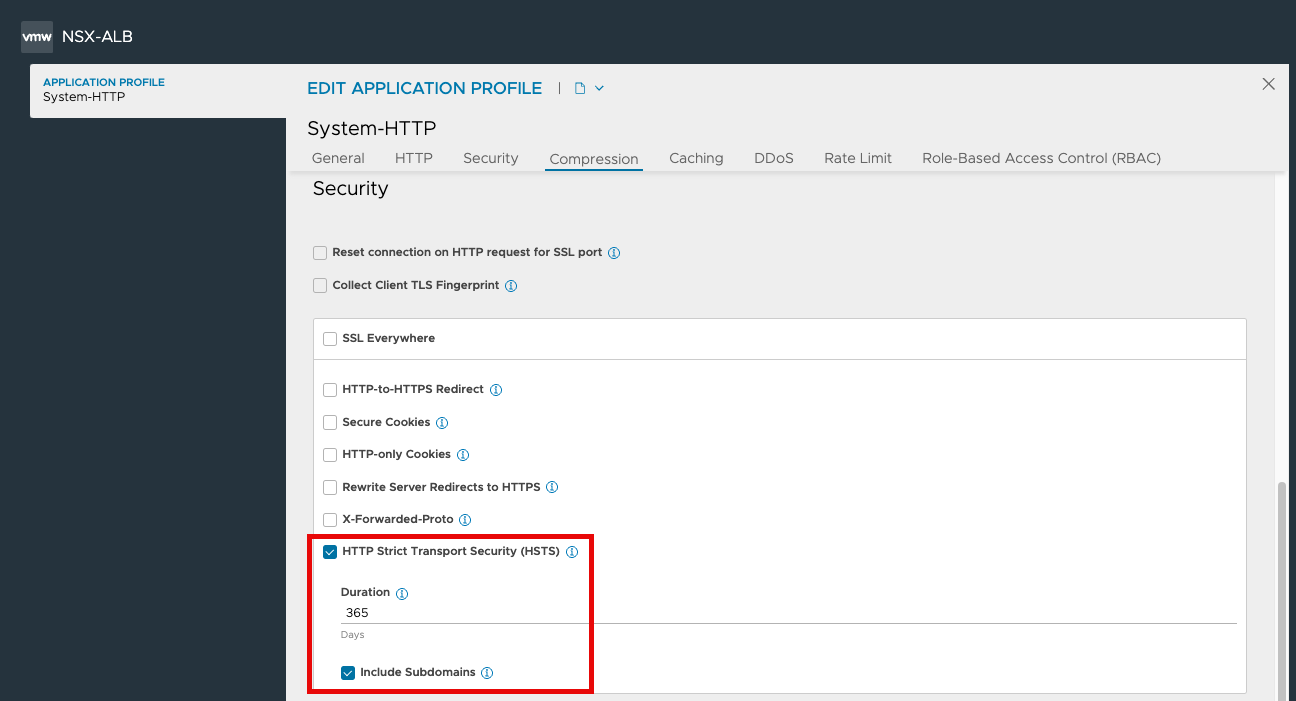
One final change that needs to be made, is that we need to enable HSTS (HTTP Strict Transport Security) on the System-HTTP Application Profile as this is the profile associated with these shared Virtual Services. HSTS, in case you didn’t know, is a mechanism to tell client browsers that they should automatically interract via SSL/TLS. It’s used to prevent protocol downgrade attacks etc.
Now, before you rush off to check the health of your Virtual Services, be warned that it can take some time for the health score to increase as it’s a score averaged over a period of time. Be patient.
However, as you can see below, the score is going up from 80%. Which is all that my OCD wanted!
Hope this helps!